Showing posts with label nursery. Show all posts

Saturday, August 23, 2014

Saving Bucks on Baby: Consignment Sales

Single Mum=Single Mum Finances

So...to save some cash, I've hit a few consignment sales (two today!).

While baby girl's nursery is mostly ready, there are still several small things I was hoping to get for a steal:

First off: baby socks! Why on earth are socks made of 5 inches of fabric a dollar per pair?

Secondly: I plan on cloth diapering, but I was wanting a diaper pail just for odor control.

Lastly: Nursing Camis: Why, WHY, WHY are these 30-40 dollars each?

So...I hit two sales today in two different cities around the metro, and came back with all of this:

I highly, highly recommend consignment sales (or shops) for baby stuff. I have now been to sales from two different companies, as well as two local shops.

Two large chain consignment sales are (use the links to find scheduled sales in your area)
Just Between Friends (jbfsale.com)
Kids Closet Connection (kidscloset.biz)

Today I got:
1 Diaper Champ-$8
1 Bundle Me car seat insulator-$12
1 Shopping Cart Cover-$9
1 Santa Dress (I couldn't resist!)-$3
1 Tub Toy Holder (the turtle)-$4
1 Car Seat Protector-$5
Assorted Child Locks-$2
2- Hooded Towels-$1
40 pairs of socks + 4 pairs of tights-$15
3-Nursing Camis-$15 ($5 each)
1- Maternity Jeans-$12
1-cloth diaper (never used)-$5
Total: $91
By my best guess (via internet research) that stuff would have cost: $330
So my total savings (approximately): 330-91=$239. Woot Woot!!

I also have a cloth diaper stash of 23 diapers for approximately $130 thanks to consignment sales and shops.

Sunday, August 17, 2014

Glider Slipcover (with picture tutorial)

As part of my single mom=single income budget, I have decided to get as much for this baby (safely) secondhand as possible.
With that being said, I have AMAZING friends. One friend gave me her Pottery Barn Crib (for free!) because she doesn't want to move it. Another friend gave me this amazing find (she found it at a garage sale, and also refused to let me pay for it!)

Awesome, right?
Even better? All of the cushions are completely removable, and rectangular = EASY SLIPCOVERING!!
Now, I am not a seamstress. In fact, Home Economics was not my strongest class, despite my overall craftiness. So, I wanted to do minimal, easy sewing.
All of the tutorials I found on Pinterest required significantly more skills than I possess in the world of sewing, or they were actually recovering tutorials. I did not want to replace the fabric on the glider, just cover it.

So...

Here is a brief tutorial for you guys, and after an hour or two, you will get something like this:

I am going with a jungle/safari theme for baby girl's nursery. I still haven't decided what to do with the arm rests, I forsee some pockets to hold small things/mommy stuff.

First: select your fabric. I recommend something with a pattern (to hide stains), but not a super linear pattern (that's too much effort lining up things for this lady!). I also recommend getting fabric from the home decor section, as it will hold up longer.
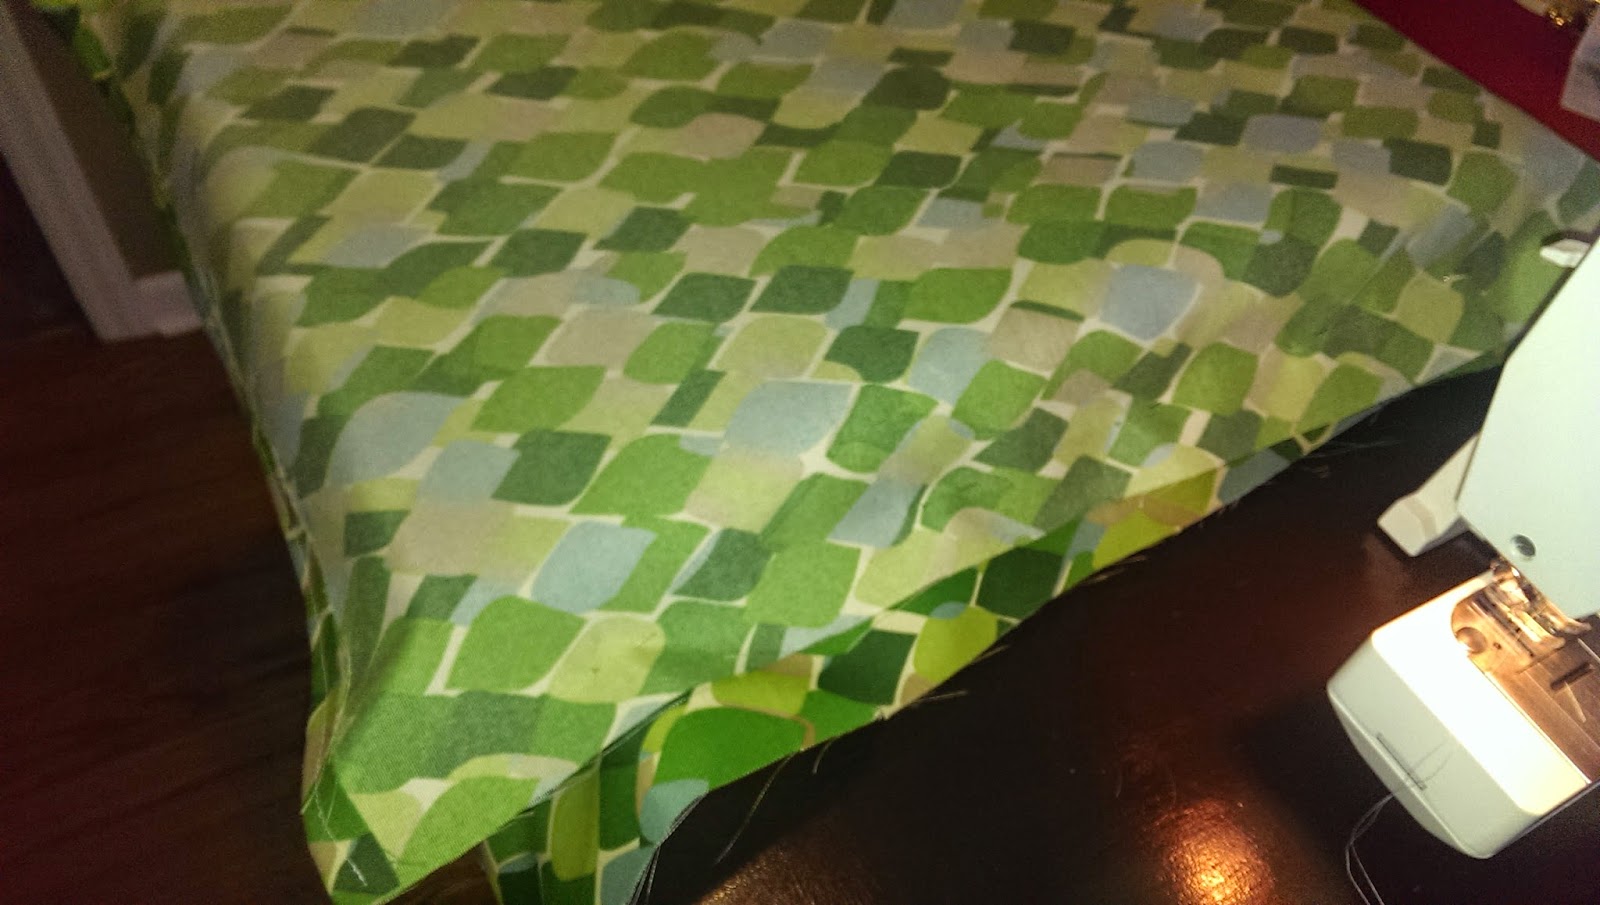
I chose this fabric to go with my chosen nursery theme. I found it at JoAnn's fabric for 50% off, plus a 10% off with a student discount. I purchased a yard and a half of the fabric for just over 20 dollars (woot!).

Next, measure your fabric for cushion #1:
Now, some people would tell you to actually MEASURE said fabric. Despite being a self-proclaimed Type-A lady, I am not one of those people. I prefer the "lay the cushion on the fabric, wrap the fabric around, and cut" method.

After you've cut your fabric, you should hem your edges. I chose to only hem the edges that would stay exposed in the final product (at the zipper) as the sides would be sewn together.

Next, pin your edges so that your cushion will fit snugly. Once again, I did this by actually putting my cushion in the fabric (which should be inside out), pinning, and removing the cushion before sewing.
Another note: since I didn't want to sew my cushion inside the slipcover completely, I left the back side open, but had one side of the fabric a little longer, so I could tuck it in "envelope style". This eliminates the need for zippers/velcro, and allows the fabric a little room to move, so you don't burst your seams.

You will notice the edges are uneven here, that's because this 
cushion has an angle and is not equally thick throughout.

Pull out your cushion, sew your edges, trim your excess fabric (if desired), flip your slipcover right-side-out, and admire your handiwork:

Like I said before, I left one end significantly longer so the "tail" could be tucked in like an envelope. This will make insertion/removal of the cushion much easier, and also allows a little wiggle room in terms of the cushion changing shape under your weight. Tuck that "tail" in, place on your glider, and BAM! One cushion down!

Repeat the previous steps for the other cushions, and you're finished!

Great work!