With that being said, I have AMAZING friends. One friend gave me her Pottery Barn Crib (for free!) because she doesn't want to move it. Another friend gave me this amazing find (she found it at a garage sale, and also refused to let me pay for it!)
Even better? All of the cushions are completely removable, and rectangular = EASY SLIPCOVERING!!
Now, I am not a seamstress. In fact, Home Economics was not my strongest class, despite my overall craftiness. So, I wanted to do minimal, easy sewing.
All of the tutorials I found on Pinterest required significantly more skills than I possess in the world of sewing, or they were actually recovering tutorials. I did not want to replace the fabric on the glider, just cover it.
So...
Here is a brief tutorial for you guys, and after an hour or two, you will get something like this:
First: select your fabric. I recommend something with a pattern (to hide stains), but not a super linear pattern (that's too much effort lining up things for this lady!). I also recommend getting fabric from the home decor section, as it will hold up longer.
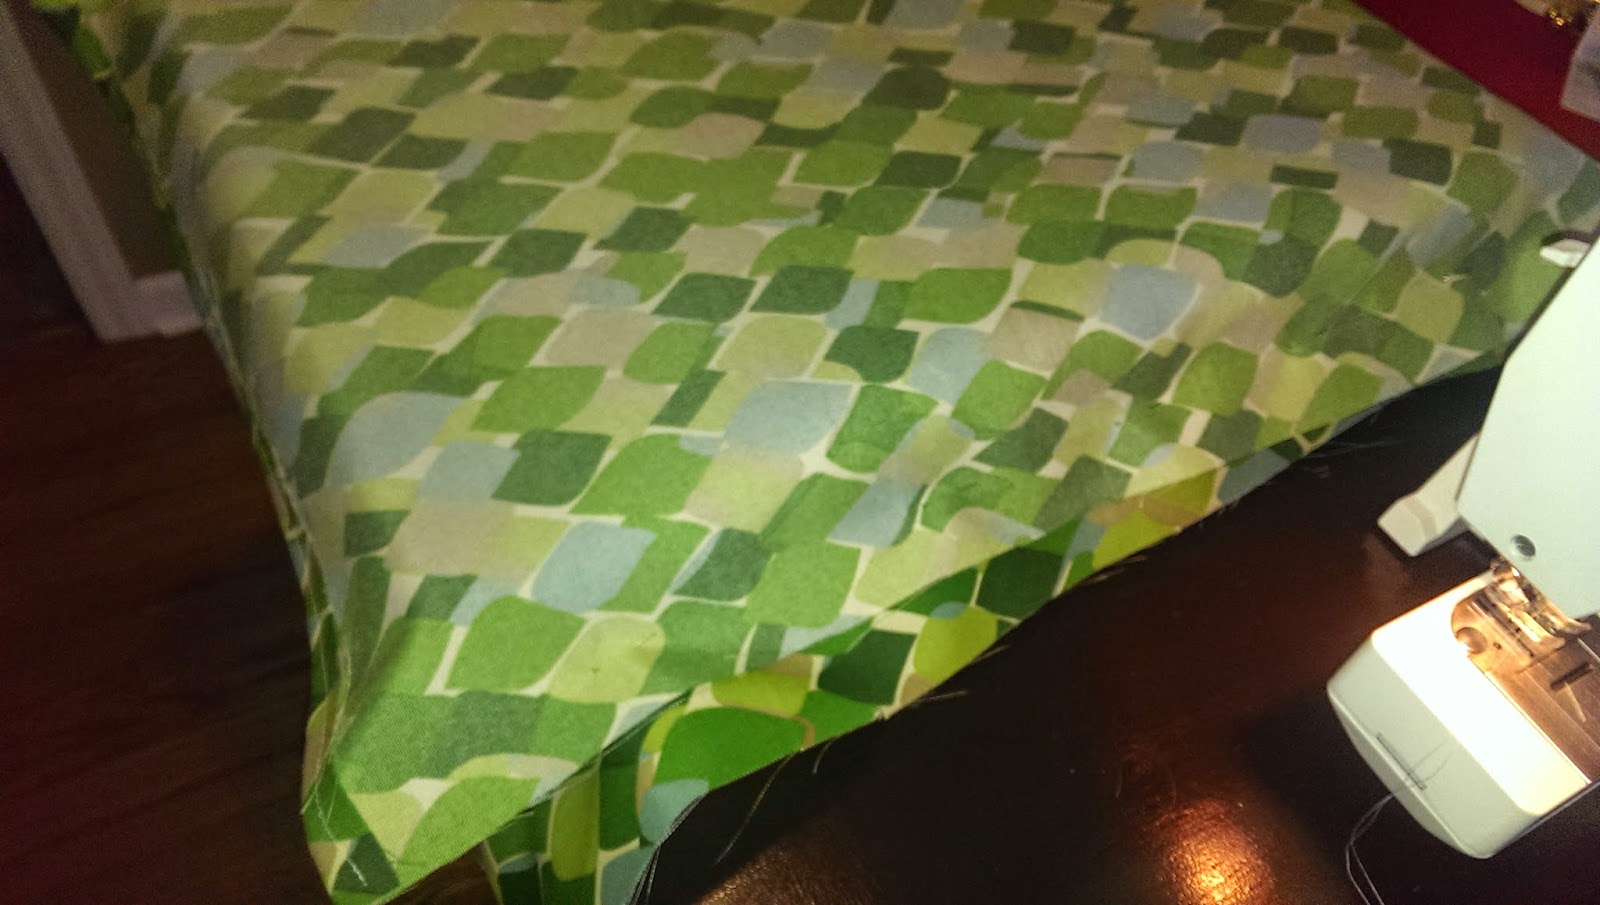
I chose this fabric to go with my chosen nursery theme. I found it at JoAnn's fabric for 50% off, plus a 10% off with a student discount. I purchased a yard and a half of the fabric for just over 20 dollars (woot!).
Next, measure your fabric for cushion #1:
Now, some people would tell you to actually MEASURE said fabric. Despite being a self-proclaimed Type-A lady, I am not one of those people. I prefer the "lay the cushion on the fabric, wrap the fabric around, and cut" method.
After you've cut your fabric, you should hem your edges. I chose to only hem the edges that would stay exposed in the final product (at the zipper) as the sides would be sewn together.
Next, pin your edges so that your cushion will fit snugly. Once again, I did this by actually putting my cushion in the fabric (which should be inside out), pinning, and removing the cushion before sewing.
Another note: since I didn't want to sew my cushion inside the slipcover completely, I left the back side open, but had one side of the fabric a little longer, so I could tuck it in "envelope style". This eliminates the need for zippers/velcro, and allows the fabric a little room to move, so you don't burst your seams.
You will notice the edges are uneven here, that's because this
cushion has an angle and is not equally thick throughout.
Pull out your cushion, sew your edges, trim your excess fabric (if desired), flip your slipcover right-side-out, and admire your handiwork:
Like I said before, I left one end significantly longer so the "tail" could be tucked in like an envelope. This will make insertion/removal of the cushion much easier, and also allows a little wiggle room in terms of the cushion changing shape under your weight. Tuck that "tail" in, place on your glider, and BAM! One cushion down!
Repeat the previous steps for the other cushions, and you're finished!
Great work!


No comments:
Post a Comment